

Welcome to this lesson which is a part of the series of tutorials to build a YouTube Clone unlike what you have seen before.
In this lesson, we are going to discuss how to add navigation links to the YouTube clone. In short, we will add a bunch of links to the existing sidebar :
We will add below HTML code to the sidebar
<!-- <div class=”side-bar”> -->

   <div class="nav">
      <a class="nav-link active">
        <i class="material-icons">home</i>
        <span>Home</span>
      </a>
  </div>

<!-- </div> -->
Then, we need to first style the nav which is the wrapper to all the links:
.nav {
    width: 100%;
    display: flex;
    flex-direction: column;
    margin-bottom: 15px;
    margin-top: 15px;
  }
The only thing I will explain here is flex-direction which means whether we want the children to appear in a column (vertical) or row (horizontal). In this case we go with a horizontal display.
Then, let style the nav-link above with css as in below:
.nav-link {
    display: flex;
    align-items: center;
    padding: 12px 25px;
  }

 .nav-link span {
    margin-left: 15px;
  }

 .nav-link:hover {
    background: #e5e5e5;
    cursor: pointer;
  }

.active {
    background: #e5e5e5;
 }
Oops…there is nothing to explain here because I have explained something similar already. Okay, let’s talk about “.home:hover”. The styles in it will only be applied whenever we move our cursor over the home navigation link. That is it.
Hey…wait. We have many links in the sidebar, so how are we going to create that? Well, we just do what every developer loves - copying and pasting and then edit it as in below:
<div class=”side-bar”>
<div class="nav">
   <a class="nav-link active">
      <i class="material-icons">home</i>
      <span>Home</span>
   </a>
   <a class="nav-link">
      <i class="material-icons">local_fire_department</i>
      <span>Trending</span>
   </a>
   <a class="nav-link">
      <i class="material-icons">subscriptions</i>
      <span>Subscriptions</span>
   </a>
 </div>
 <hr>
</div>
After pasting three links, we want to make them into separate category by using
to create a line that separates them from the next category. Now, let’s style the hr tag.
hr {
    height: 1px;
    background-color: #e5e5e5;
    border: none;
  }
Then, we will add the remaining code after the hr tag as in below:
<!-- <div class="nav">
     hr -->
    <a class="nav-link">
       <i class="material-icons">library_add_check</i>
       <span>Library</span>
    </a>
    <a class="nav-link">
       <i class="material-icons">history</i>
       <span>History</span>
    </a>
    <a class="nav-link">
       <i class="material-icons">play_arrow</i>
       <span>Your Videos</span>
    </a>
    <a class="nav-link">
       <i class="material-icons">watch_later</i>
       <span>Watch Later</span>
    </a>
    <a class="nav-link">
       <i class="material-icons">thumb_up</i>
       <span>Liked Videos</span>
    </a>
<!-- </div> -->
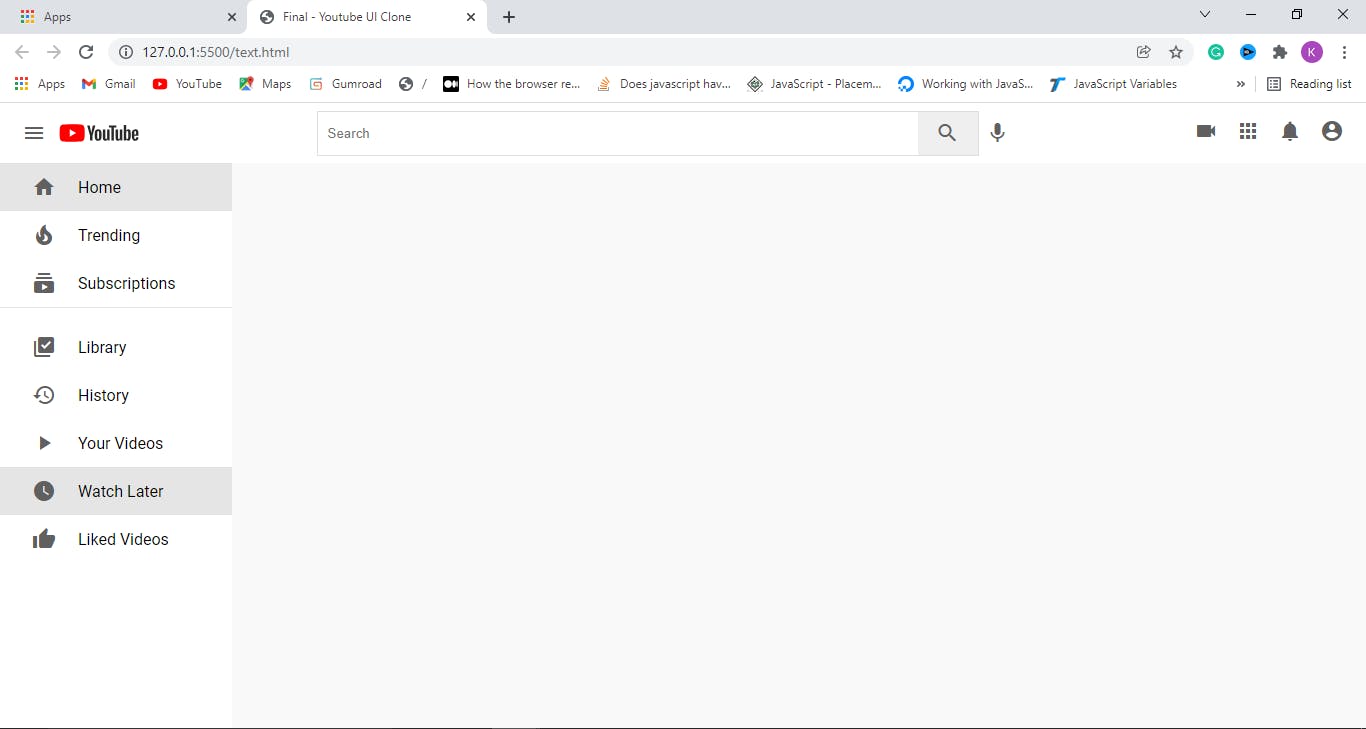
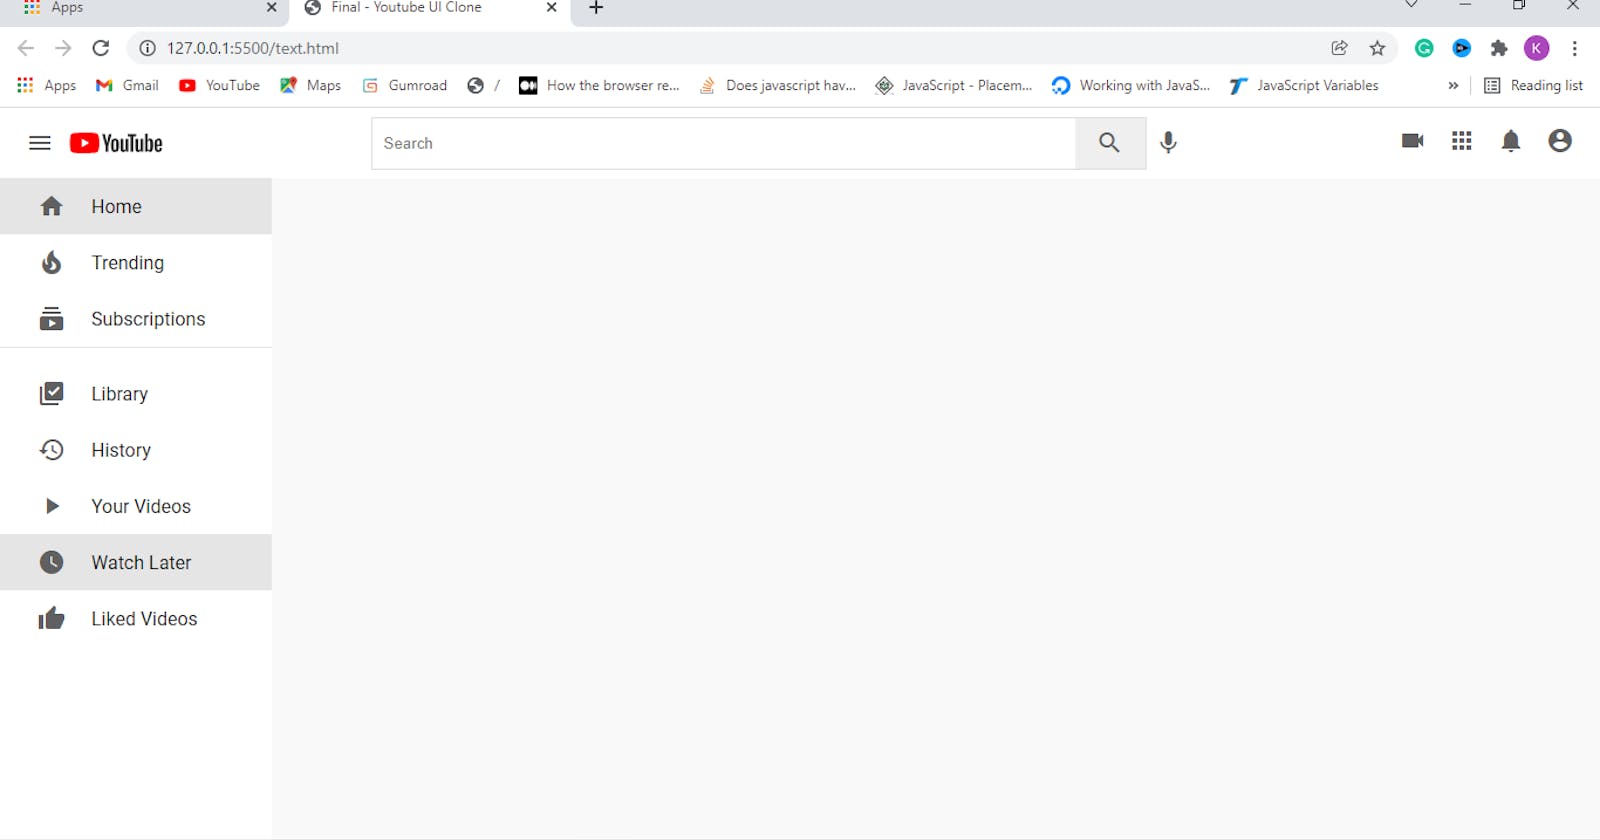
Wow, we are done with the sidebar of the YouTube clone and below is the result we get: